|
Tapping saddle is a core fitting for branch connection in pipeline networks, featuring advantages such as no need to cut the main pipe and high-efficiency sealing. This guide is formulated to ensure the accurate selection and standardized installation of the tapping saddle.
I. Core Principles for Selection
1. Specification Adaptation: Select tapping saddle according to the nominal diameter DN50–DN2000 and wall thickness of the main pipe to ensure the saddle fits the pipe wall closely.
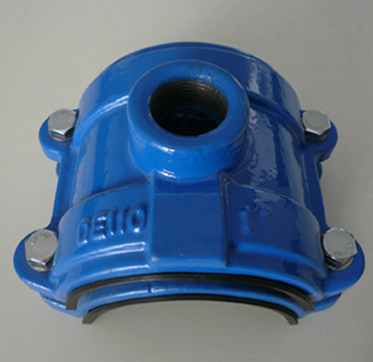
2. Working Condition Matching: Choose a tapping saddle with a rated pressure not lower than the working pressure PN of the system; PN10/PN16 is commonly used in municipal water supply systems, and a high-pressure tapping saddle can be selected as needed for industrial fluid transportation. Select materials of tapping saddle based on the conveying medium: food-grade rubber seals and stainless steel for drinking water systems; corrosion-resistant carbon steel with plastic coating or FRP for chemical systems.
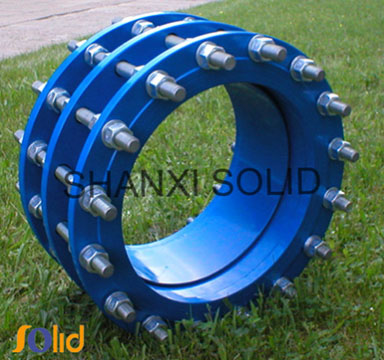
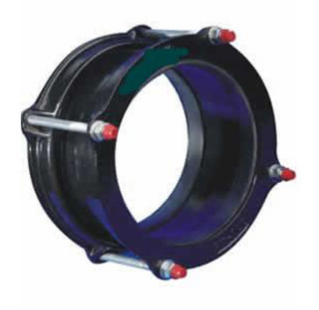
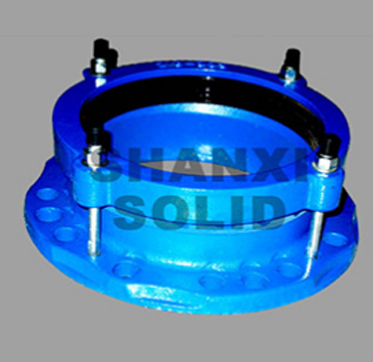
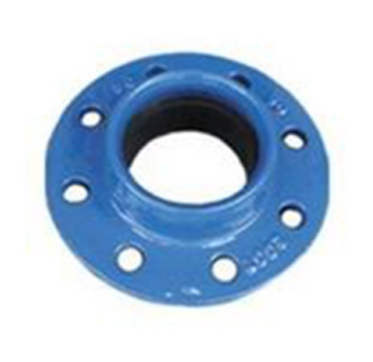
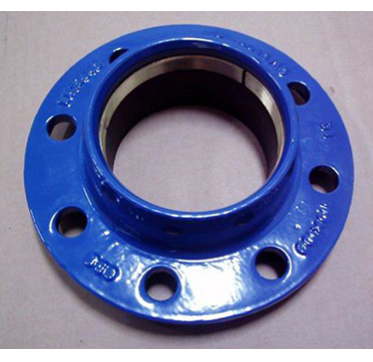
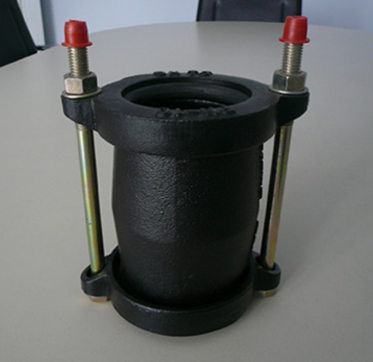
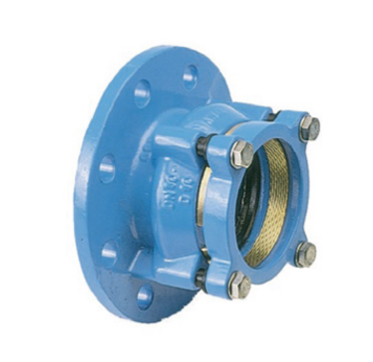
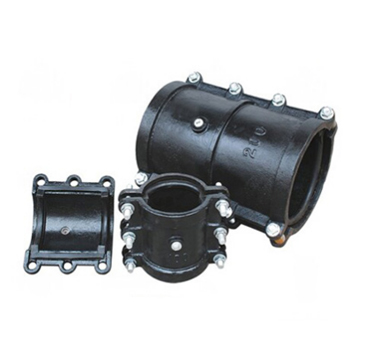
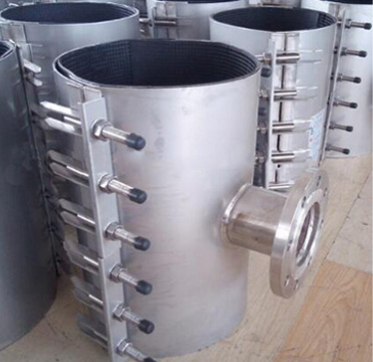
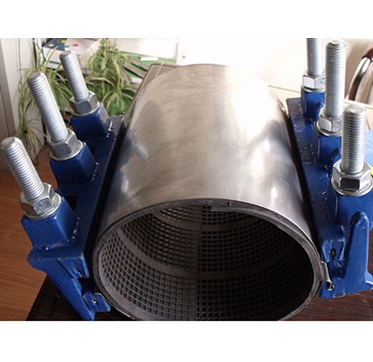
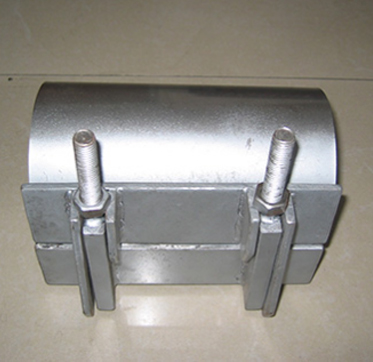
3. Connection Method: Mechanical clamp type tapping saddle for medium and low-pressure pipelines; welding type tapping saddle for high-pressure or high-vibration conditions; flange connection type tapping saddle for large-diameter pipe branches.
II. Pre-installation Preparation
Tools: Prepare special tools such as tapping drills, torque wrenches, and spirit levels, as well as auxiliary materials including seals and anti-rust agents for tapping saddle installation; equip with safety protective gear such as safety helmets, gloves, and goggles.
On-site: Ensure the pipeline network in the construction area is depressurized, shut off, and residual medium in the main pipe is drained.
III. Standard Installation Steps
1. Positioning and Marking: Use a spirit level to mark the center line of the branch on the main pipe and the installation contour line of the saddle.
2. Saddle Fixing: Place the seal, tighten the bolts evenly diagonally in accordance with the specified torque.
3. Tapping Operation: Connect the tapping drill and keep it vertical, inject cooling fluid to reduce temperature, and stop the machine immediately after drilling through.
4. Branch Connection: Remove the drill, clean debris, connect the branch pipe, and check firmness.
5. Sealing Test: Stabilize pressure at 1.5 times the working pressure for 30 minutes; no leakage or pressure drop is considered qualified.
IV. Key Notes and Troubleshooting
Taboos: It is strictly prohibited to tap under pressure or tighten bolts randomly with ordinary wrenches; pay attention to the flexibility of seals during low-temperature construction.
Maintenance: Regularly retighten bolts, check the anti-corrosion layer of buried pipelines, and drain medium from unused pipelines.
Common Troubleshooting: Replace seals or retighten bolts for joint leakage; replace drills and correct perpendicularity for drill jamming; replace suitable products or repair the main pipe for large saddle fitting gaps.
|